
This How to Grow Microgreens at Home: An Easy, Satisfying Way to Explore Gardening post includes affiliate links. When I find a great product or service, I like to share it with my readers. Sometimes I use affiliate links so I can earn a commission for my recommendations. Thank you for your support!
Growing Microgreens: An Easy, Satisfying Way to Explore Gardening
Think maybe you’ve got a little bit of a green thumb?
Growing microgreens is a great way to explore that interest. These nutritious micro-treats are easy to grow indoors. They take up little space, are ready to harvest in about two weeks and are a fun way to add beautiful colors and flavors to your dishes.
What Are Microgreens?
Microgreens are the beginning stages of herbs and vegetables, like broccoli, kale, arugula and beets. So, if you’re wondering… are microgreens just baby plants… you’re not on the wrong path. That’s exactly what they are. They’re just harvested after the first set of leaves have developed.
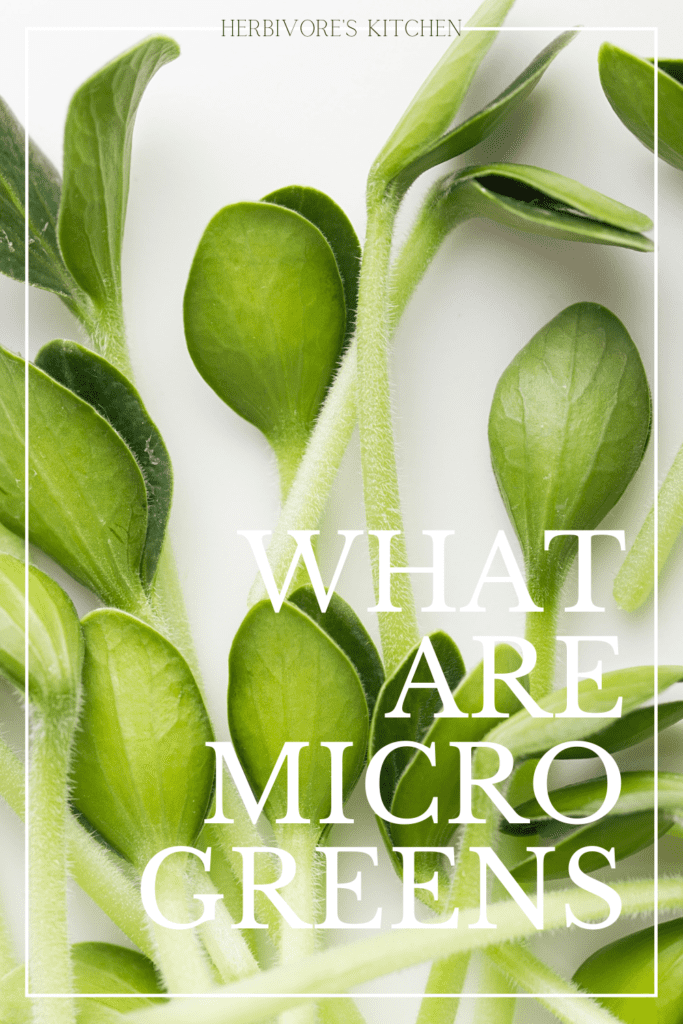
You might be wondering…what is the point of microgreens? After all, why grow these tiny plants on your windowsill when you can just buy a head of broccoli at the grocery store?
What Are the Benefits of Eating Microgreens?
Well, despite their moniker, these tiny plants pack a serious punch. They feature both concentrated flavors and health benefits – in some cases boasting 4 to 10 times more nutrients than the fully mature vegetable or herb.
Let’s talk flavor first. Imagine all of the flavor in a head of broccoli contained in a tiny plant. That’s what makes microgreens so much fun to grow and cook with. And broccoli is just one of many different varieties. Radish, mustard and arugula are some of my other favorite microgreens.
Nutritionally, microgreens have concentrated levels of Vitamins E, C and K and other nutrients including potassium, iron, zinc, magnesium & copper. They’re also high in antioxidants and polyphenols.

Polyphenols are a category of plant-based compounds that are believed to reduce inflammation in the body. Flavonoids (found in apples and red cabbage), capsaicinoids (found in chili peppers), curcumin (found in turmeric) and lignans (found in flax seeds) are all examples of polyphenols.
In short, eating microgreens can help reduce your risk of heart disease, diabetes, cancer and Alzheimer’s.
Can You Just Eat Microgreens?
Microgreens are nutrient powerhouses, but they’re not a substitute for mature vegetables. While they’re loaded with nutrients, they don’t offer all of the benefits of a fully grown vegetable, like fiber.
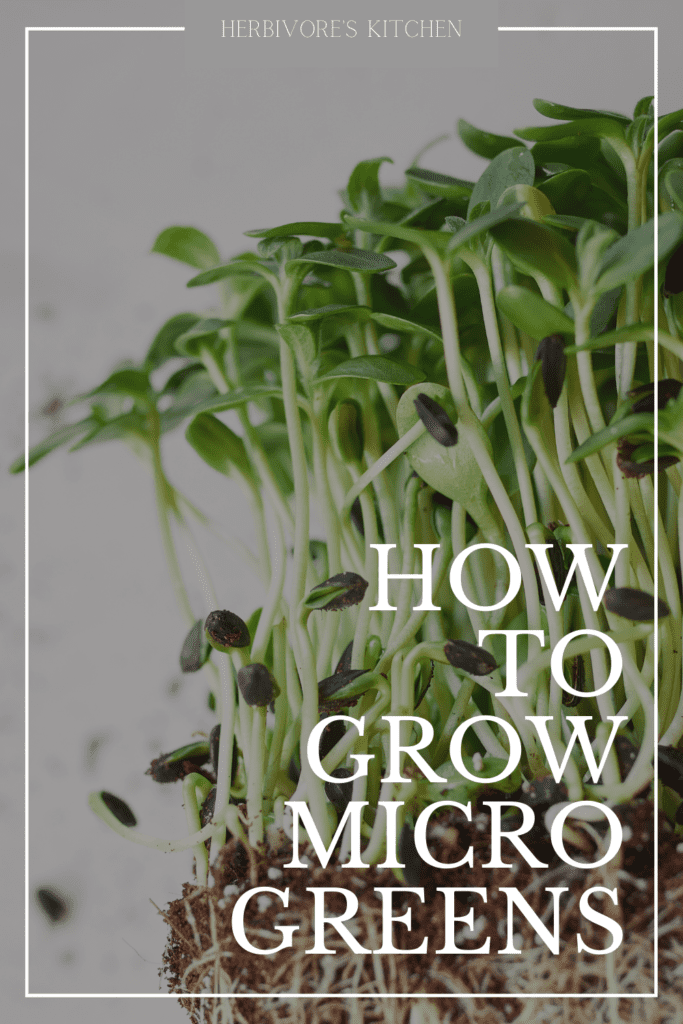
How to Grow Microgreens at Home
Growing microgreens at home is easy! You can grow them year-round on a windowsill in your kitchen. That way they’ll always be ready to top a salad, sandwich or meal. Because they grow quickly, I recommend growing them in rotation so that you always have a fresh batch to harvest.
What Is the Difference Between Sprouts and Microgreens?
Microgreens and sprouts are both junior versions of larger plants, but microgreens are different. Sprouts are germinated in water and do not have leaves. Sprouts are generally ready in 1-2 days, whereas microgreens take a little longer.
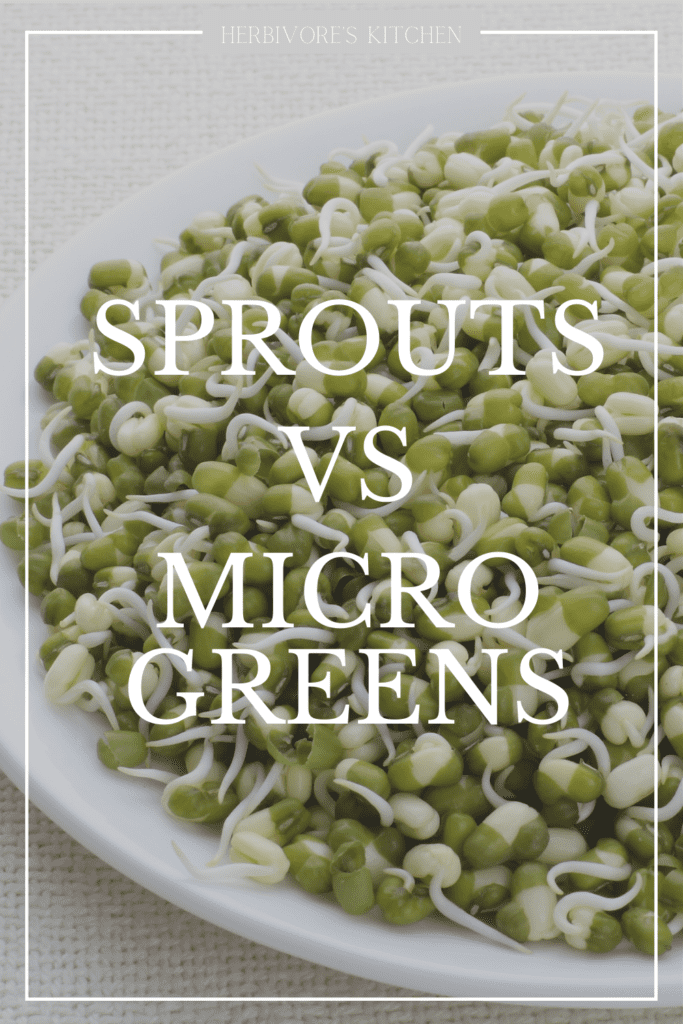
Microgreens are germinated in soil and require water and sunlight to produce. Microgreens have true leaves that, along with the stems, are edible.
Best Seeds for Microgreens
There are dozens of types of microgreens, many of which will sound familiar and others that will be new and different. Different types grow at different rates, offer different flavors and nutritional profiles. They also vary widely in price.
To help you choose where to start, I included a microgreens growth chart below.

Easiest Microgreens to Grow
If you’re looking for microgreens that are fast and easy to grow and won’t break the bank, I recommend trying arugula, broccoli, cilantro or radish microgreens.
Do You Need Special Seeds for Microgreens?
No, microgreens are grown from the same seeds as the mature plant, but purchasing seeds that are marketed as microgreen seeds means that you’re more likely to select a plant-type that produces good microgreens.
It also ensures that you’ll choose a plant that isn’t toxic. Certain plant sprouts are not good for human consumption. Nightshades – like tomatoes, peppers and eggplants – are not recommended as microgreens.
In addition to specific microgreen species, microgreen seeds are often sold in blends. You can buy salad mixes, spicy mixes or mild mixes.
Growing Microgreens Indoors
Microgreens can be grown indoors, outdoors, in a greenhouse – whatever suits your needs best. I grow microgreens on my windowsill in the winter months, in my greenhouse during the shoulder seasons and outside when the weather permits.
Tools for Growing Microgreens
Getting started on your microgreen garden doesn’t require much in the way of materials. You can buy a kit like Window Garden’s acrylic planter tray, which includes fiber soil, a spray bottle and a starter seed kit. I have several of these kits, but you can also put together a kit of your own from the local hardware store.
Here’s what you need:
- Shallow tray. The length and width dimensions may vary, but you’ll want something that is only ~2 inches deep.
- Spray bottle. A small bottle with a fine spray setting. This will enable you to provide your microgreens with the right amount of moisture.
- Organic soil. As you’ll see below, I prefer to grow microgreens in organic potting soil.
- Unbleached paper towels. I use paper towels to keep the seeds in place and to protect them during the first days of growth.
- Scissors. A sharp pair of scissors is the best way to harvest your microgreens.
Best Medium for Growing Microgreens
In this blog post, I am going to focus on growing microgreens indoors.
Arguably, you don’t need soil to grow microgreens. The seeds themselves contain all of the nutrients necessary to produce the first leaves. But certain microgreens need the stability of soil to lay roots. So, while microgreens don’t necessarily require soil, I’ve had the best success using it.
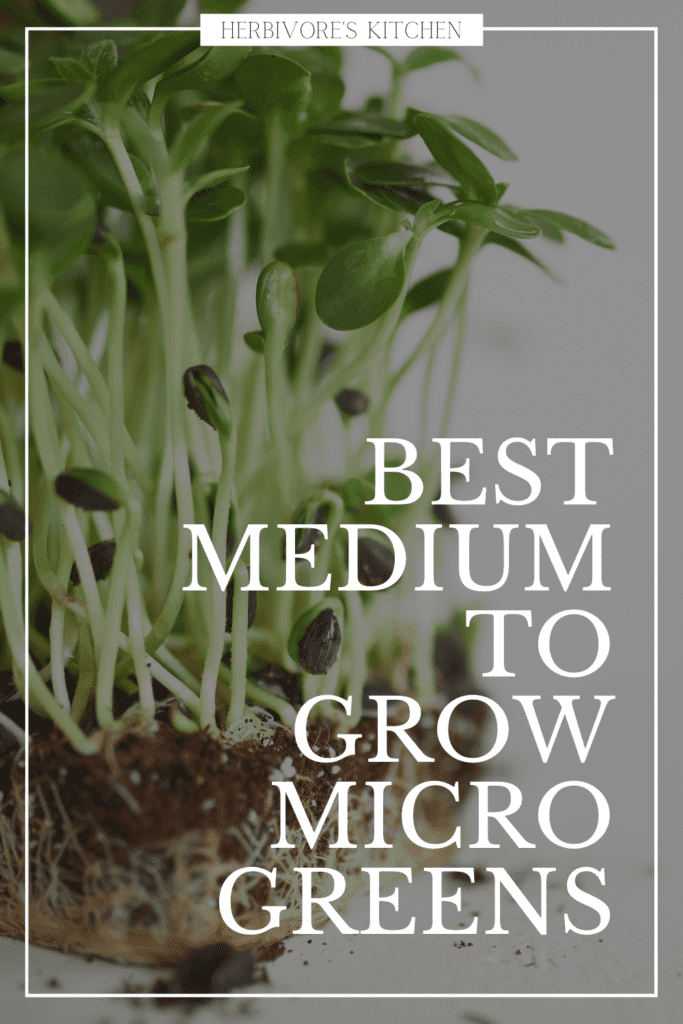
I find organic potting soil is the best medium for growing microgreens. You can find it in a local nursery, hardware store or gardening store.
In the video below, I’ll show you how to prep your microgreen growing container, add the proper amount of soil and plant the seeds.
Growing Microgreens on Paper Towels
Growing microgreens using paper towels is one of the easiest methods and a good way to keep the mess to a minimum.
In some cases, you’ll see microgreen growers suggest using nothing but paper towels, but that’s not what I mean. I use paper towel to keep the seeds in place, as seeds will often scatter during early watering sessions before roots have had time to develop. Paper towels also mimic the darkness buried seeds would experience during the early stages of germination.
I recommend using unbleached organic paper towels to avoid introducing chemicals to your organic efforts.
How to Plant Microgreens
Growing microgreens at home is really easy! Here are my How to Grow Microgreens at Home step-by-step instructions!

As a first step, I soak my microgreen seeds overnight. This helps to weaken the hard exterior of the seed and promote germination. I only skip this step for basil and chia seeds, which become gelatinous when wet. The change in texture makes these varieties harder to plant.

Then I prep my growing container. I use shallow 16 x 6″ trays. These will host about 1 tbsp of soaked seeds. To prep the container, I thoroughly wash it in hot soap and water. Bacterial growth is a concern when you’re growing microgreens, so it’s important to start with a clean container.

After the seeds have soaked, I prep my soil. When the soil comes out of the bag, it will be very dry. Follow the directions on the bag for moistening the soil. I recommend doing this in a bucket, as it tends to be the messiest part.

Once the soil is prepped, add it to your growing container by gently pressing it down to make sure that the surface is flat and even. Then, fold a double layer of paper towels to fit on top of the soil. Wet the paper towels – you want them to be quite damp, but not soaking wet.

Spread the soaked seeds across the paper towel. You want to spread the seeds out as evenly as possible.

Turn the paper towel over so that the seeds are facing down and can be pressed into the dirt. Spray the paper towel with a little more water to ensure that it is damp.

Move the growing container near a window where your seeds will be exposed to sunlight. The paper towel covering will mimic the seeds being buried in dirt for the first couple of days.

Check the container every day to ensure that the paper towel remains damp. As the seeds germinate, the microgreens will push the paper towel up off of the dirt. After 5-7 days, you should be able to remove the paper towel from the container.

Continue to check on your microgreens, spraying them with water to keep the soil moist. Within 2-3 weeks, your microgreens should be ready for harvest. You should have plenty of space between the top of the leaves and the soil to harvest the microgreens with scissors.
Safety Considerations When Growing Microgreens
Microgreens grow in wet, humid conditions and tightly packed conditions. Those conditions can lead to bacterial growth, including mold and mildew.
If you see signs of mold or mildew on your microgreens, it’s best to toss that batch and start over again. If your microgreens smell bad, that’s another sign to try again.

You might notice a white fuzz on your microgreens as they start to sprout. This is not cause for alarm – these are root hairs and are a natural part of the process. To ensure that you’re dealing with root hairs and not mildew, gently spray your microgreens and watch to see if the white fuzzy look disappears.
You can avoid issues by choosing seeds from a reputable company. I buy mine from High Mowing Seed Company. They’re organic, non-GMO and are available in a variety of quantities.
Wash microgreen containers thoroughly in between plantings. Use hot water and a mild detergent. Allow the containers to thoroughly dry before your next planting.
How to Store Microgreens
If you harvest more microgreens than you want to eat right away, I recommend storing them in an airtight container in between layers of dry paper towels. This keeps them from becoming soggy and prevents mold from developing.
Refrigerated microgreens should last for 3-5 days from the date of harvest.
Do Microgreens Grow After Cutting?
Microgreens do not regrow after cutting, so after the initial harvest you’ll have replant for another round of microgreens.
How to Eat Microgreens
I’m not sure there’s a wrong way to eat microgreens, but I do have some suggestions to get the most from your home gardening efforts.
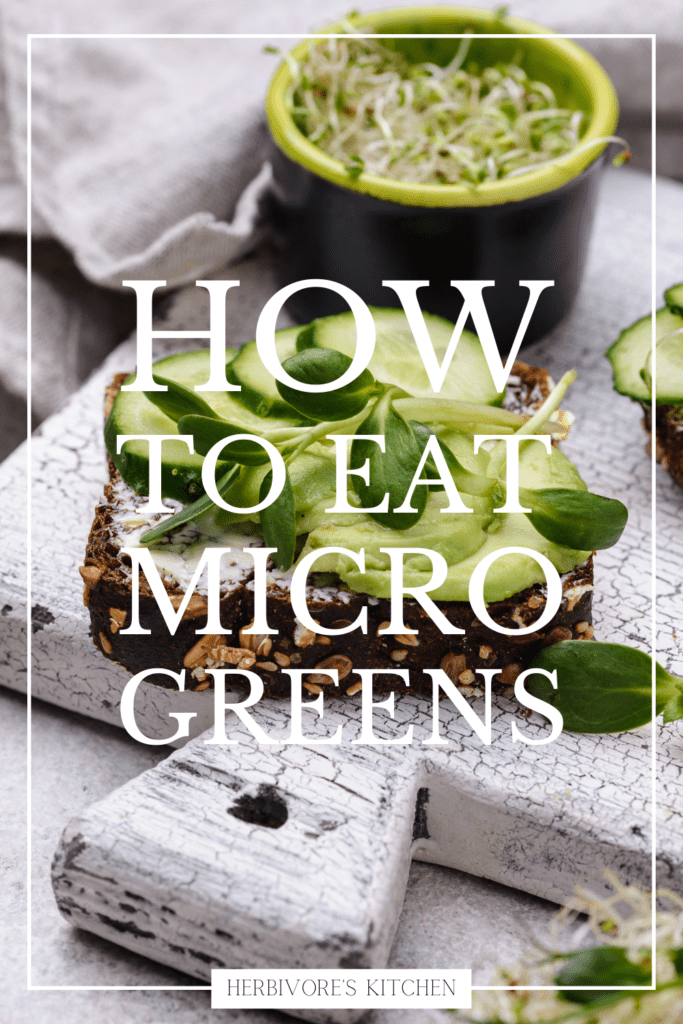
Pay attention to flavor. As I mentioned earlier, microgreens not only pack a lot of nutrition in a small space, they’re also heavily concentrated in flavor. Mustard, radish and arugula microgreens can be really spicy! As such, I add them to salads and avocado toast, but I wouldn’t throw them into a smoothie.
About Herbivore’s Kitchen

My name is Kate and I am a vegan home chef, cookbook author, aspiring food photographer and how-to-be-a-better-food-blogger junkie. You’ll mostly find creative and tasty vegan recipes and detailed deep dives into vegan ingredients (check out my Vegucation section) on my blog. I love knowing as much as I can about the food that I make. I’m also really into running a food blog as a business, so I’ve also got a section of my blog titled: Confessions of a Food Blogger where I get into the nitty gritty on how to build, manage, market and monetize a food blog.